How to Run a LLaMA Chatbot on the Cluster
In our previous tutorial, we covered how to set up the environment and run a classification model using sbatch.
This time, we will run a Meta LLaMA 3.1-8B-Instruct chatbot interactively via srun on the cluster.
We will start with a minimal terminal chatbot, then upgrade it to a web interface.
Environment Setup
- Create a conda environment Make sure you are working under the
/projectdirectory (to avoid/homequota issues).
Then create a dedicated conda environment and install the required libraries:
cd /project/your_username/
mkdir -p llama-chatbot
cd llama-chatbot
conda create -n llama_chat python=3.10 -y
conda activate llama_chat
- Install Hugging Face ecosystem and Gradio pip install -U “transformers>=4.44.0” “accelerate>=0.33.0” “tokenizers>=0.19.0” safetensors gradio
Hugging Face Access
Meta’s LLaMA models require a license agreement and authentication.
Accept the license
Visit: meta-llama/Llama-3.1-8B-Instruct Fill the form and click Submit
Create an access token
- Log in with your Huggingface account.
- Go to Hugging Face Access Tokens Page.
- Create a read token (hf_…), make sure the Llama-3.1-8B-Instruct model is selected and copy the token.
- Log in on the cluster
huggingface-cli loginPaste your token when prompted. You should see: “Login successful. The current active token is:XXX”.
Run a Chatbot in your terminal
- Prepare the script
Save the following script in your prject directory, e.g. /project/your_username/llama-chatbot/llama_chat.py:
from transformers import AutoTokenizer, AutoModelForCausalLM
import torch, sys

MODEL_ID = "meta-llama/Llama-3.1-8B-Instruct"

tok = AutoTokenizer.from_pretrained(MODEL_ID, use_auth_token=True)
mdl = AutoModelForCausalLM.from_pretrained(
    MODEL_ID,
    torch_dtype=torch.bfloat16 if torch.cuda.is_available() else torch.float32,
    device_map="auto",
    attn_implementation="sdpa",
    use_auth_token=True,
)

print("💬 LLaMA Lab Assistant — type 'exit' to quit")
history = []
while True:
    user = input("You: ").strip()
    if user.lower() == "exit":
        sys.exit(0)

    messages = history + [{"role": "user", "content": user}]
    prompt = tok.apply_chat_template(messages, tokenize=False, add_generation_prompt=True)
    inputs = tok(prompt, return_tensors="pt").to(mdl.device)

    with torch.no_grad():
        out = mdl.generate(
            **inputs,
            max_new_tokens=256,
            temperature=0.7,
            do_sample=True,
            eos_token_id=tok.eos_token_id,
        )
    text = tok.decode(out[0], skip_special_tokens=True)
    reply = text.split(prompt, 1)[-1].strip()
    print(reply)
    history.append({"role": "user", "content": user})
    history.append({"role": "assistant", "content": reply})
- Run it interactively on a GPU node:
srun --gres=gpu:1 --cpus-per-task=4 --mem=64G --time=2:00:00 --partition=bigTiger \
     python /project/your_username/tutorial/llama-chatbot/llama_chat.py
- Start Conversations:
Once the chatbot starts, you can interact in the terminal, for example:
💬 LLaMA Lab Assistant — type 'exit' to quit

You: Can you explain what a GPU is?
Assistant: A Graphics Processing Unit (GPU) is a specialized electronic circuit designed to quickly manipulate and alter memory to accelerate the creation of images in a frame buffer intended for output to a display device...

exit
Upgrade to a Web Interface (Gradio)
For a more user-friendly interface, we can use Gradio to run the chatbot in a browser.
- Prepare the script
Save this script as /project/your_username/tutorial/llama-chatbot/llama_gradio.py, and change line 6 to your actual directory:
import os, socket, gradio as gr
from transformers import AutoTokenizer, AutoModelForCausalLM
import torch

# Put HF cache under /project to avoid home quota and deprecation warning
os.environ.setdefault("HF_HOME", "/your_username/wliu9/.cache/huggingface")

MODEL_ID = "meta-llama/Llama-3.1-8B-Instruct"
PORT = 7861  # change if the port is busy

# You already did `huggingface-cli login`, no explicit token needed here
tok = AutoTokenizer.from_pretrained(MODEL_ID)
mdl = AutoModelForCausalLM.from_pretrained(
    MODEL_ID,
    torch_dtype=torch.bfloat16 if torch.cuda.is_available() else torch.float32,
    device_map="auto",
    attn_implementation="sdpa",
)

def chat_fn(message, history):
    """
    Gradio passes:
      - message: current user input (str)
      - history: list of (user, assistant) tuples
    Convert to LLaMA chat template messages.
    """
    msgs = []
    for u, b in (history or []):
        if u:
            msgs.append({"role": "user", "content": u})
        if b:
            msgs.append({"role": "assistant", "content": b})
    msgs.append({"role": "user", "content": message})

    prompt = tok.apply_chat_template(msgs, tokenize=False, add_generation_prompt=True)
    inputs = tok(prompt, return_tensors="pt").to(mdl.device)

    with torch.no_grad():
        out = mdl.generate(
            **inputs,
            max_new_tokens=256,
            temperature=0.7,
            do_sample=True,
            eos_token_id=tok.eos_token_id,
        )

    text = tok.decode(out[0], skip_special_tokens=True)
    reply = text.split("assistant\n", 1)[-1].strip()
    return reply

print(f"[Gradio] compute node = {socket.gethostname()}, port = {PORT}", flush=True)

demo = gr.ChatInterface(fn=chat_fn, title="LLaMA Lab Assistant")
demo.launch(server_name="0.0.0.0", server_port=PORT, show_error=True)
- Run it on a GPU node
srun --gres=gpu:1 --cpus-per-task=4 --mem=64G --time=2:00:00 --partition=bigTiger \
     python /project/your_username/tutorial/llama-chatbot/llama_gradio.py
This will start the LLaMA chatbot on a GPU node. In the terminal you should see output like:
[Gradio] compute node = itiger01, port = 7861
Running on local URL:  http://0.0.0.0:7861
- Connect from your local machine
Open a new terminal on your local computer and create an SSH tunnel. Replace itiger01 with the actual compute node name printed above, and and you_username as your actual username:
ssh -Nf -L 17861:itiger01:7861 you_username@itiger.memphis.edu
Now open a browser on your local machine and go to: http://localhost:17861
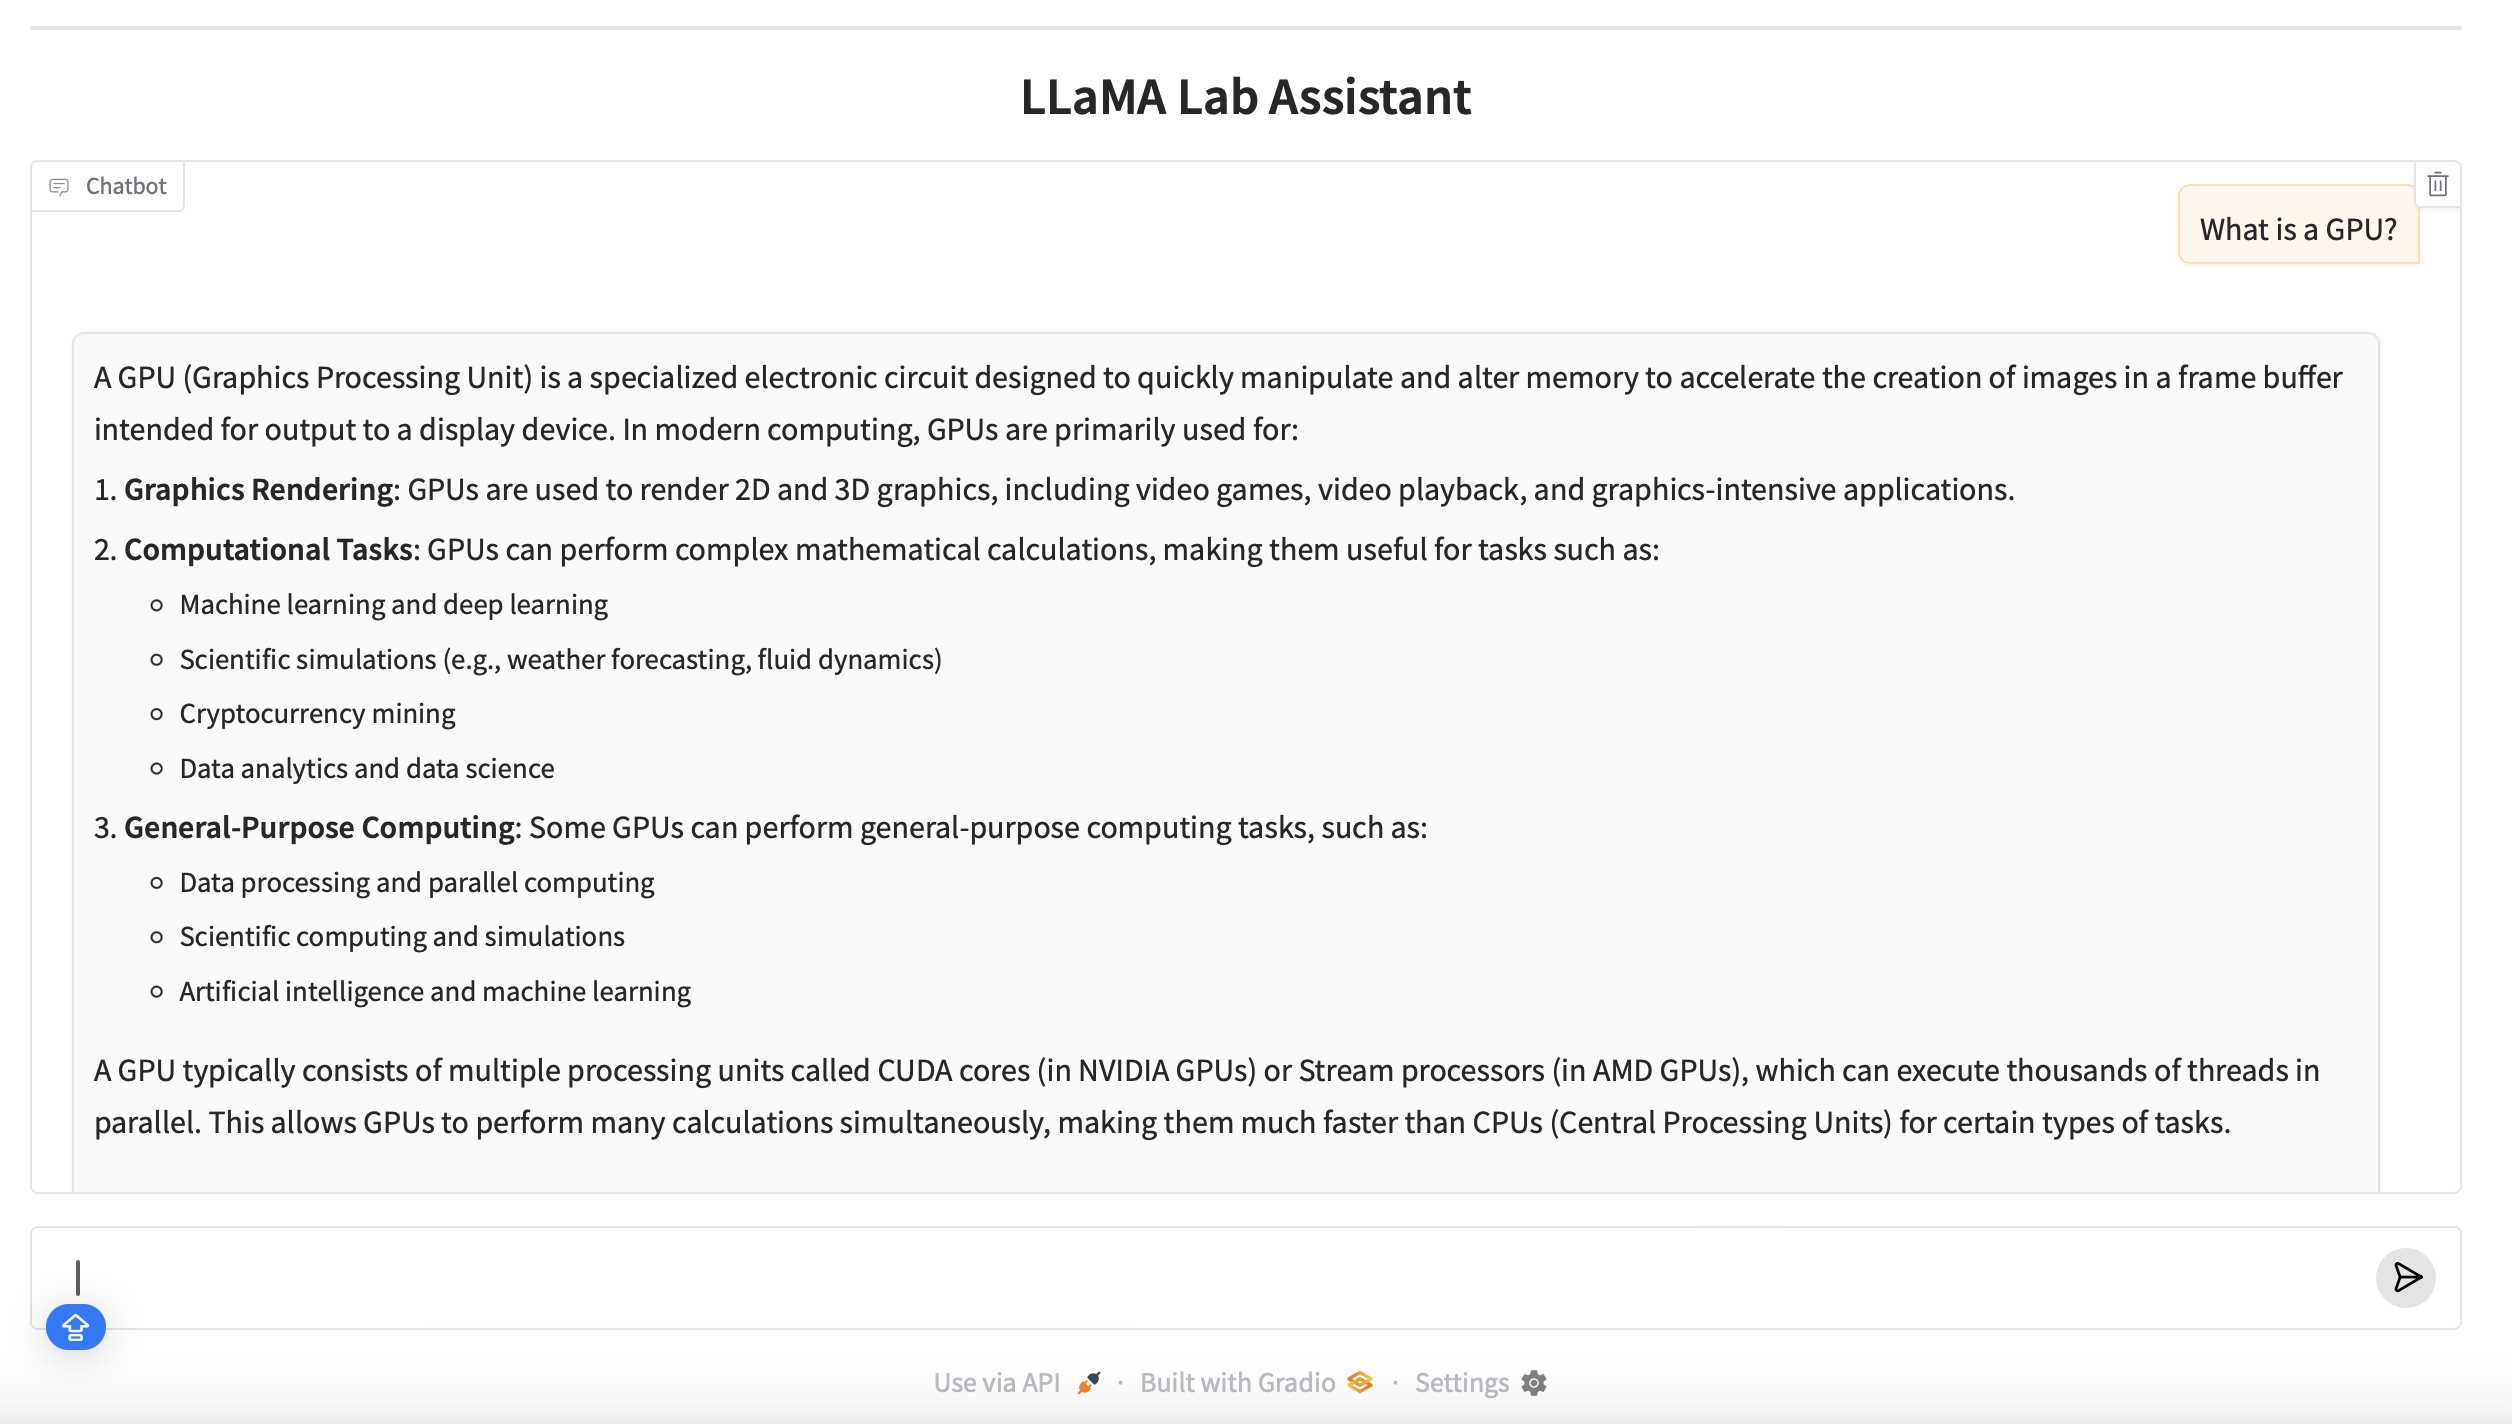
You should see the LLaMA Lab Assistant Gradio interface, where you can start chatting with the model interactively.

Enjoy Reading This Article?
Here are some more articles you might like to read next: